Set up your Sol1 email account on your Android device
Note: This is for email accounts that are included in a Solutions First Hosting Package. For Zimbra email setup, see the Zimbra Guide.
- Locate and open the Gmail app.
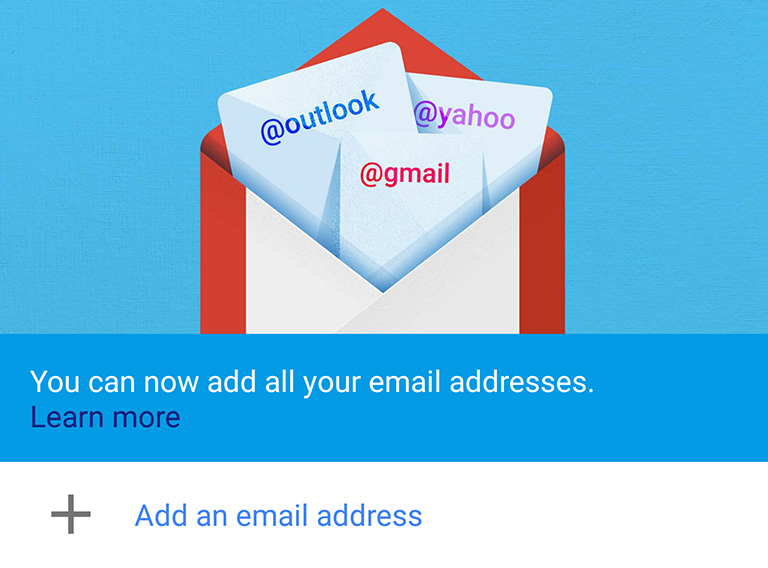
- If this is the first time you’ve opened Gmail, select Add an email address.
- If you already have an account setup, continue below for instructions on how to add a second account to Gmail.
- To add a second account if you already use Gmail, go to the top right and click the menu icon to open the left settings panel.
- Click the arrow to the right of your current email address to bring down the drop down menu.
- In the expanded section, click Add Account.
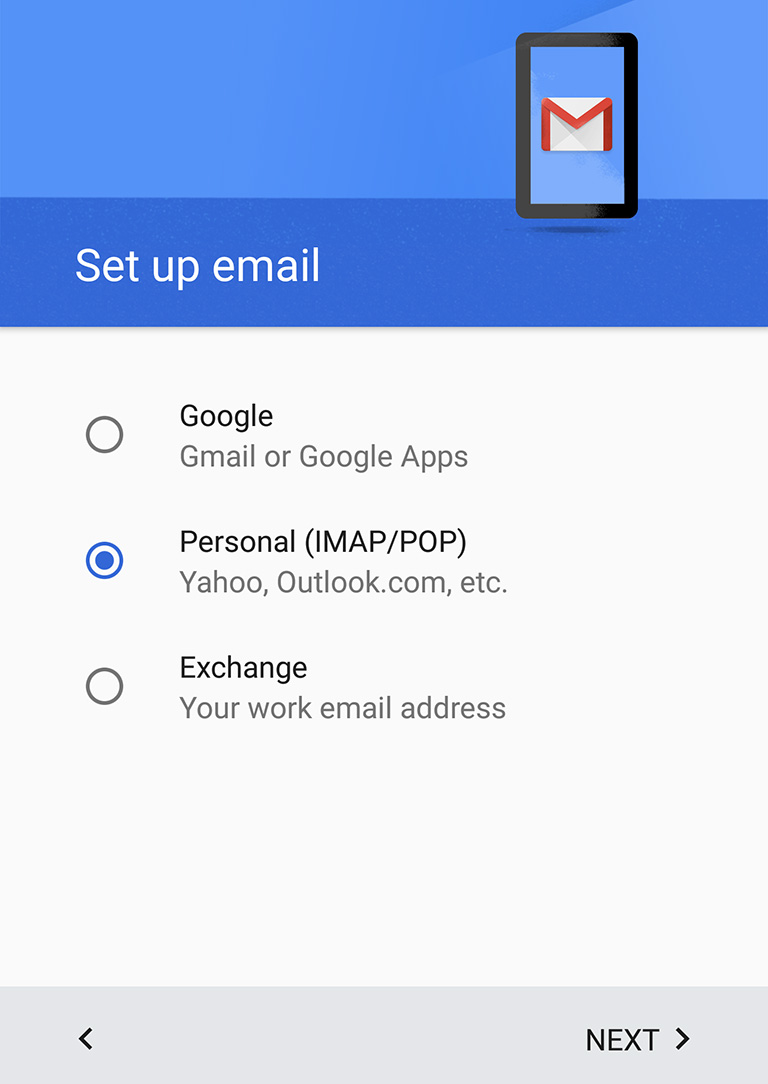
- Select Personal (IMAP/POP) as the account type (you may have to select Other first).
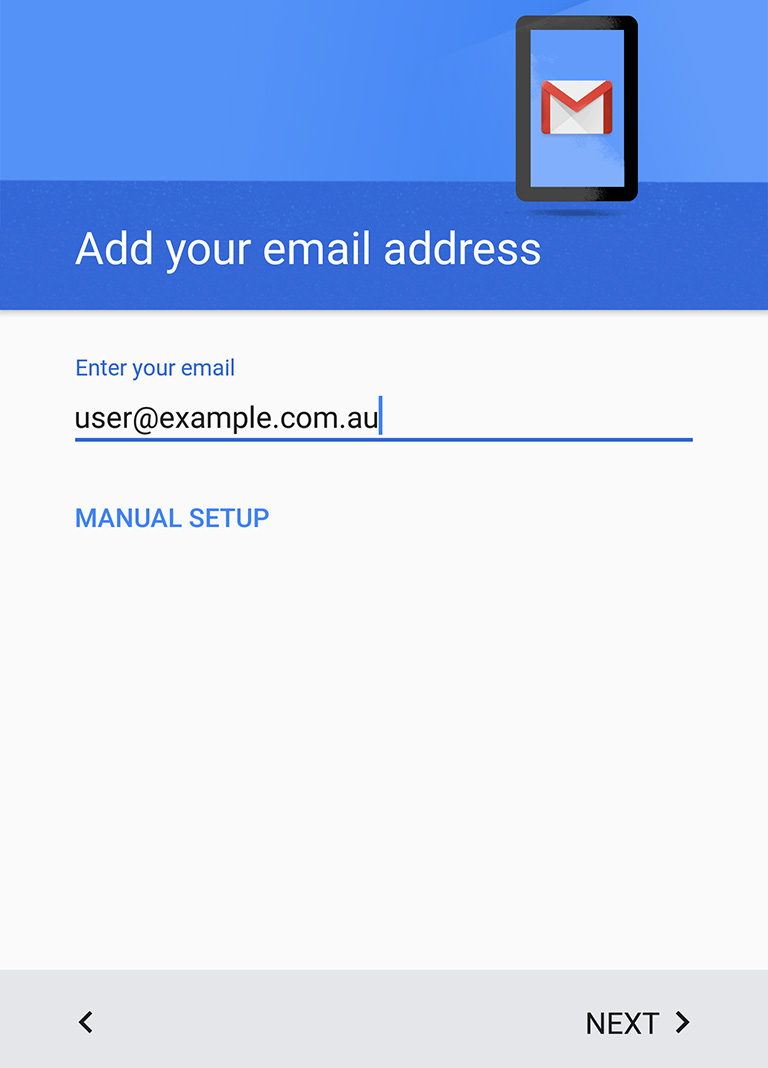
- Enter your email address.
- Click Next.
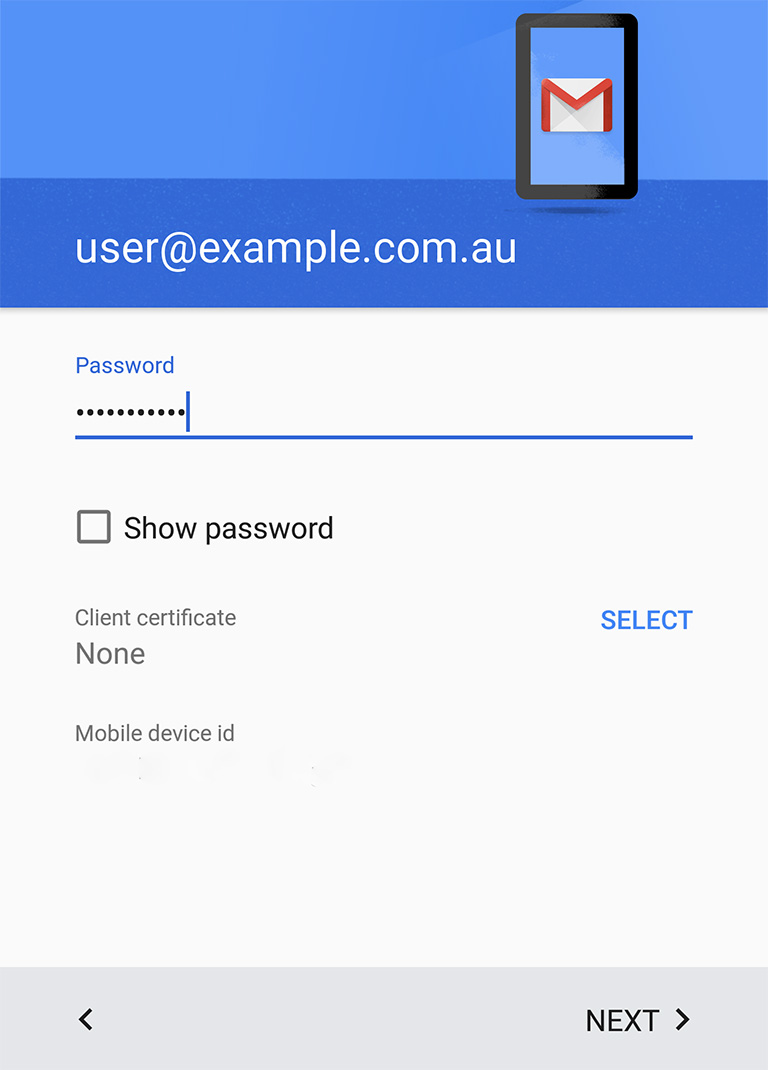
- Enter your password.
- Click Next.
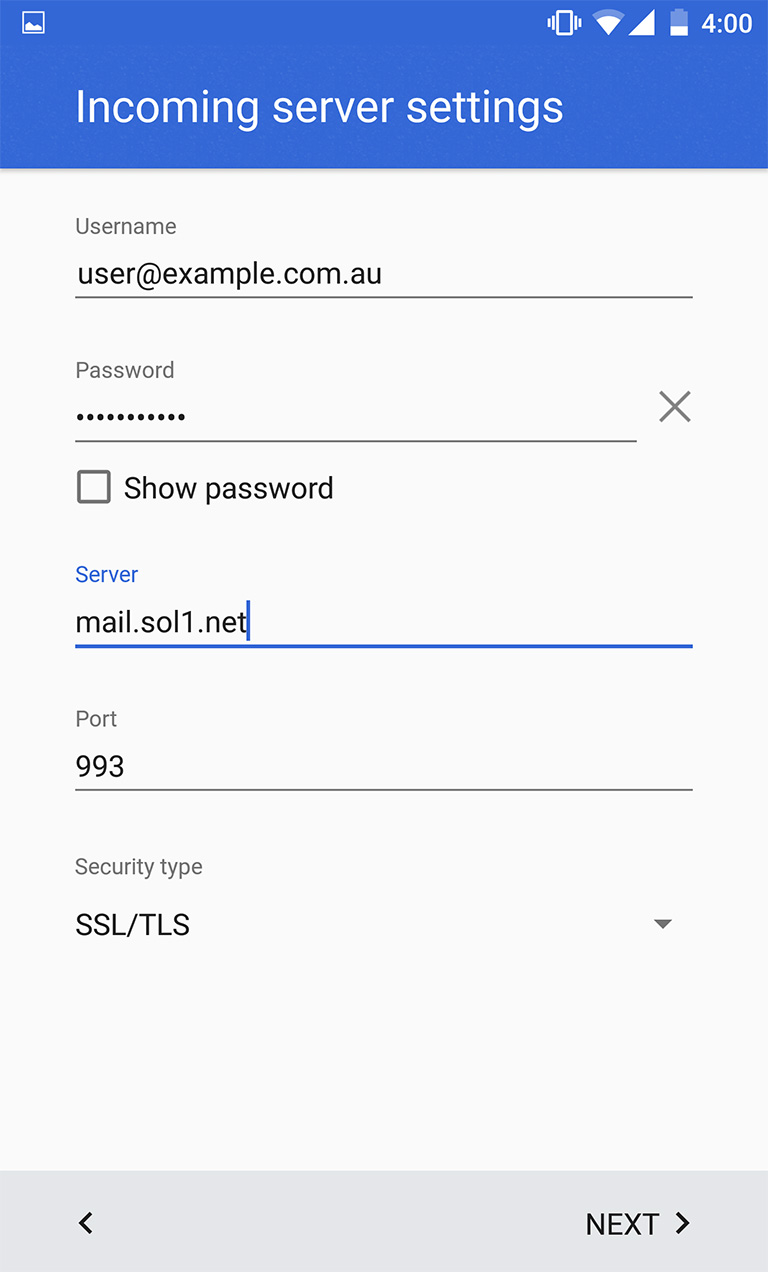
- For Server enter mail.sol1.net
- Note: Username should be your full email address.
- Port should be 993.
- Security type should be SSL/TLS.
- Click Next.
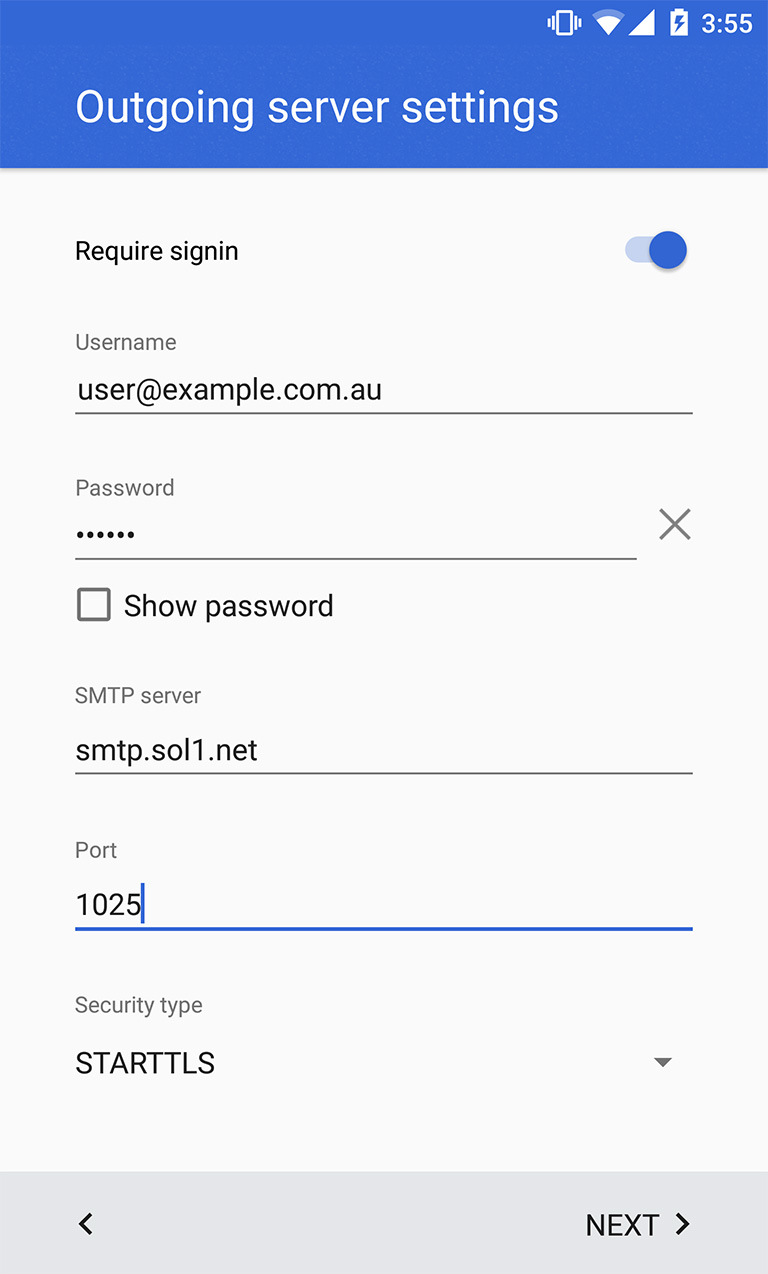
- Make sure Require sign in is ticked.
- For SMTP server enter smtp.sol1.net
- Note: Username should be your full email address.
- Port should be 1025.
- Security type should be STARTTLS.
- Click Next.
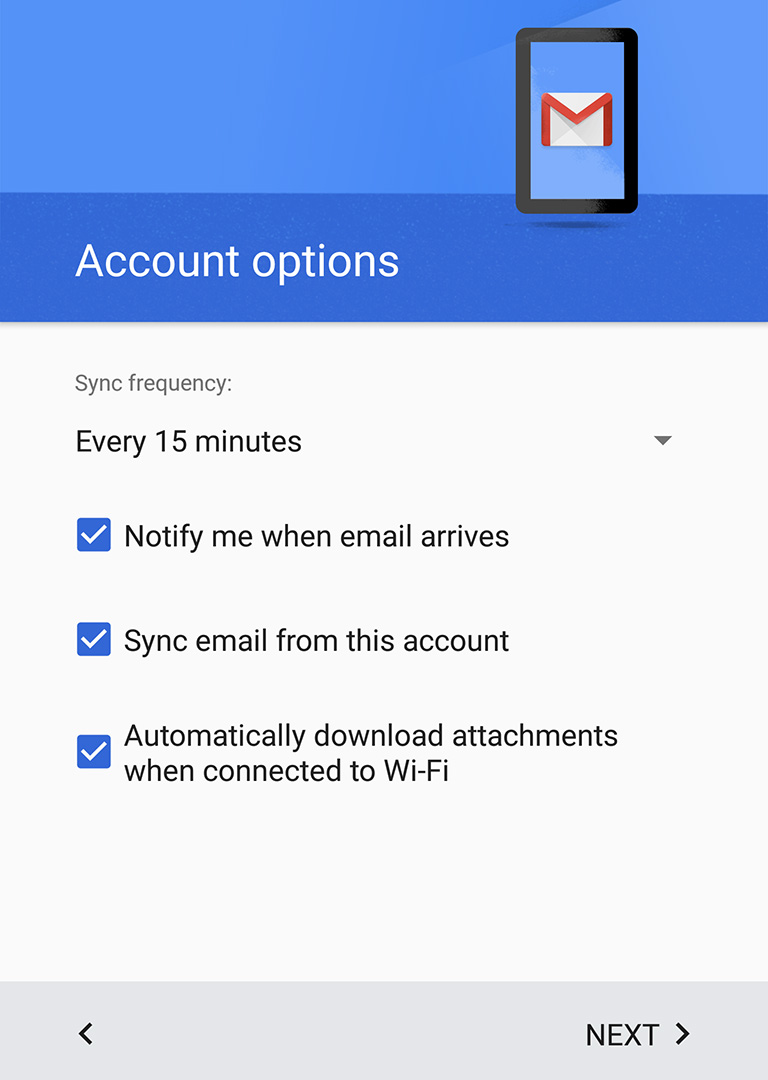
- Gmail will not ask you to set some basic preferences for your account. You can choose to modify these or leave them as the defaults.
- When you’re satisfied with your settings, click Next.
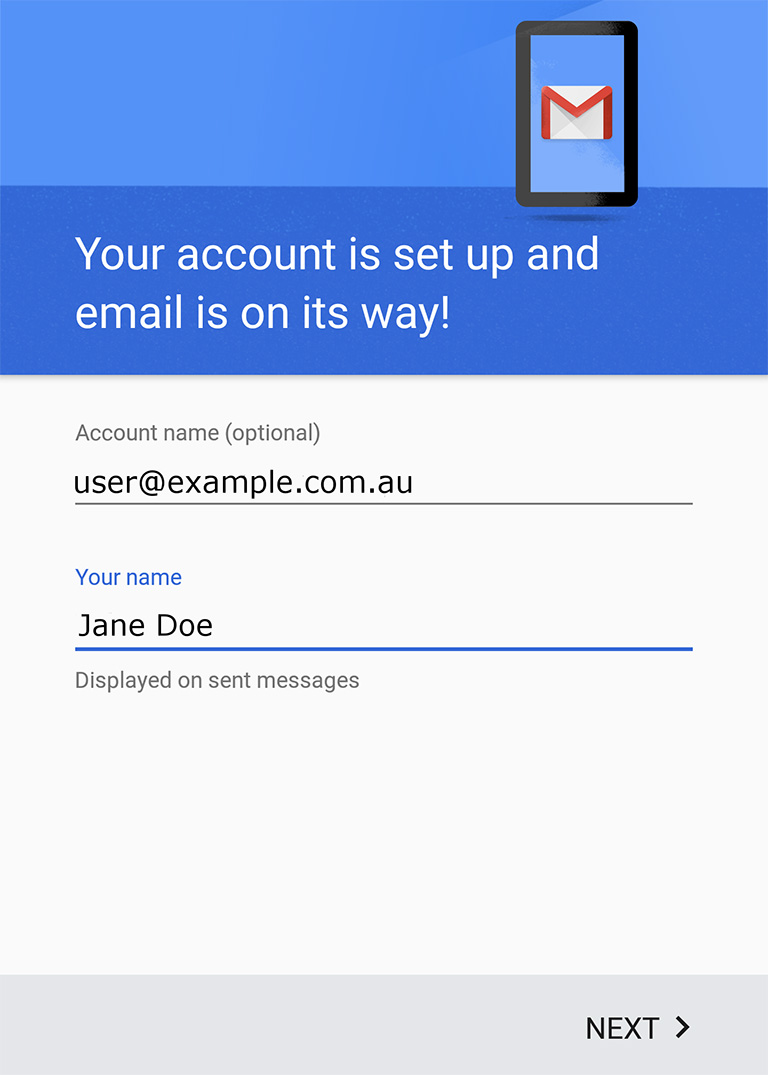
- If you’d like, you enter an Account Name. This is useful if you’re setting up multiple accounts in Gmail (i.e. Work or Personal).
- If Gmail asks for Your Name, enter your full name as you would like people to see it when you send them mail.
- Click Next.
Note: On Android 6.0 or higher, you may be presented with a notification asking if you would like to allow syncing with Calendar or Contacts. To start the sync for those items, you’ll need to select Yes on the popups that appear.
That’s it! Your Zimbra account will begin to sync with your phone.

