- Download the Zimbra Connector for Outlook.
- Install Zimbra connector for Outlook
- Open the ZCO.msi installation file that you downloaded above.
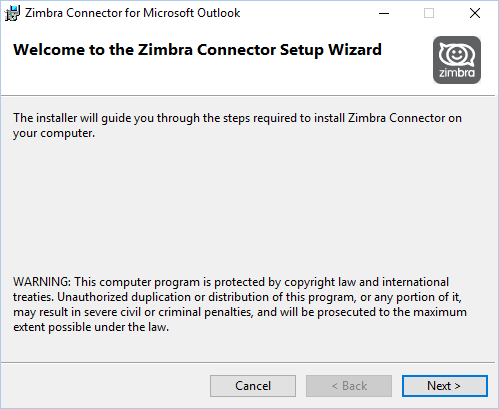
- The welcome dialogue displays. Click Next.

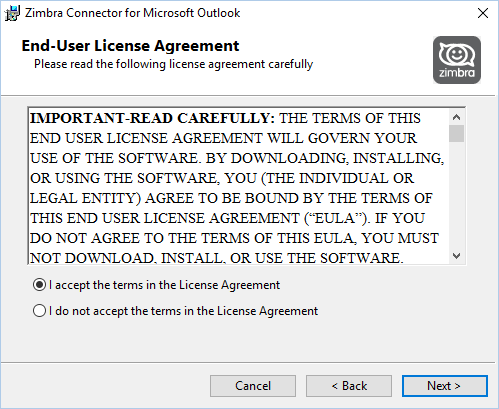
- The End-User License Agreement displays. Read the license agreement and click I accept the terms in the License Agreement. Click Next.
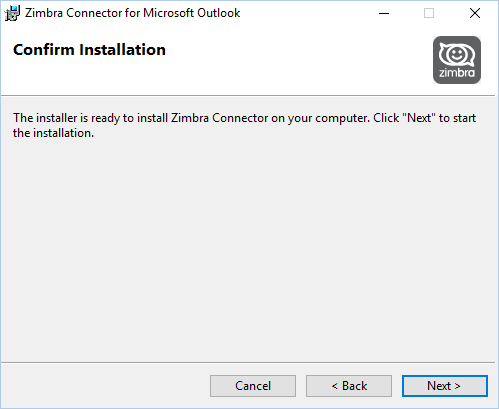
- The Confirm Installation dialog displays. Click Next to begin the installation.

- When the Installation Complete dialog displays, click Close. ZCO is now successfully installed. Continue to the next section to configure ZCO.
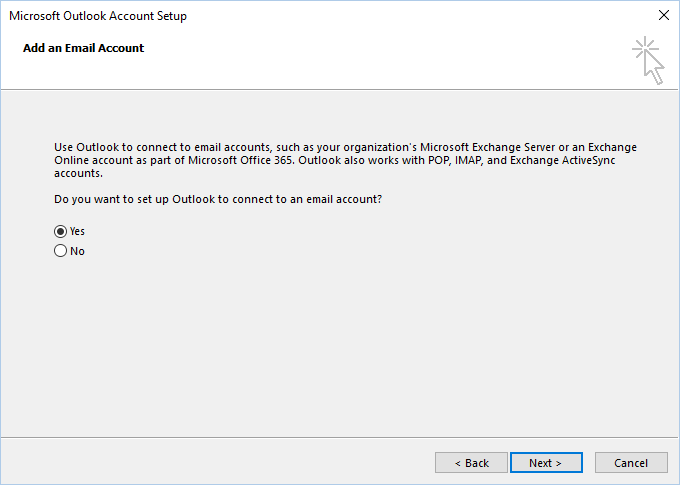
- Open Outlook. The Outlook account setup wizard should open. Click Next to start the wizard. If it does not start automatically, go to File > Add Account.
- The wizard will ask you to connect to an email account. Click Yes.
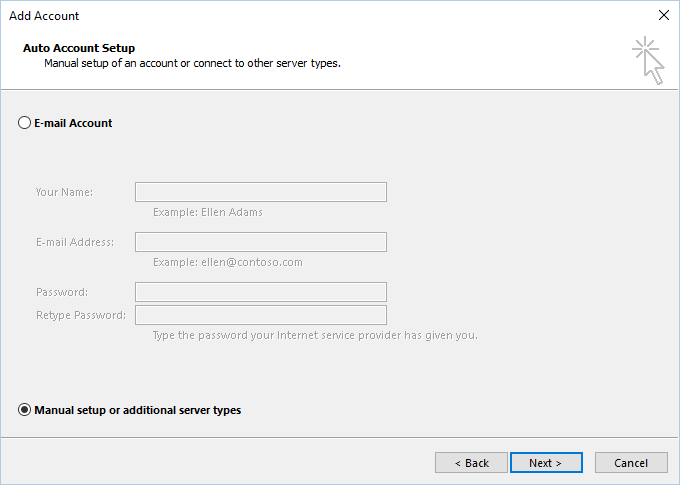
- Select Manual setup or additional server types. Click Next.
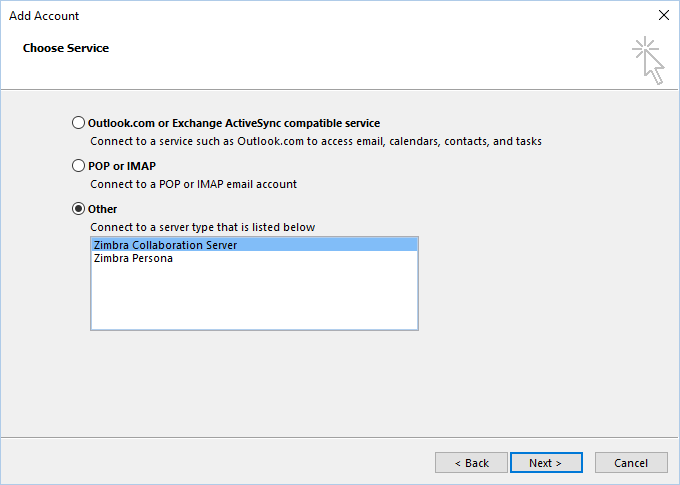
- Select Other > Zimbra Collaboration Server. Click Next.

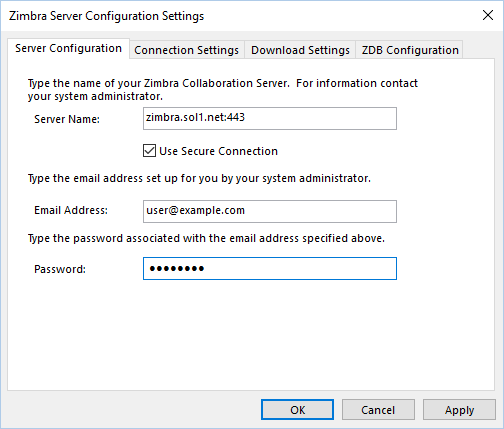
- Enter details as per below. Unless you have been advised otherwise, use zimbra.sol1.net as the Server name, and enter your email address and password. This is the same email address and password you use to log into the Zimbra Collaboration Suite Website.
- Now you can click OK to complete the setup. For advanced users: If you want to change how mail is downloaded to your account, make those changes in the Download Settings tab before clicking OK.
That’s it! You can now use Outlook to access your Zimbra account.